Custom AR-15 Dust Covers — Polymer & Steel Ejection Port Covers
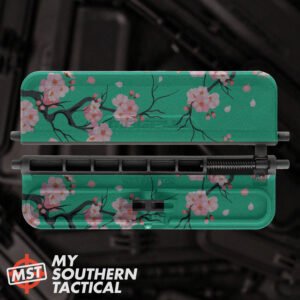
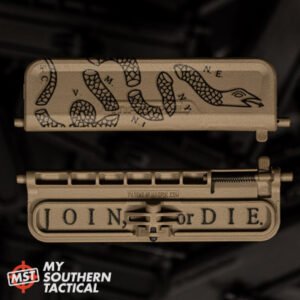
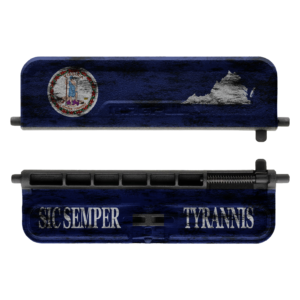
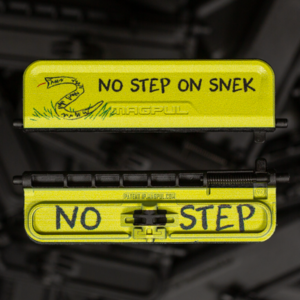
Whether you run polymer or steel, a custom AR-15 dust cover — the ejection port cover on your upper receiver — is the fastest, cheapest way to personalize your build, and My Southern Tactical prints every design in vibrant, full color, never engraved. This is your hub for both: lightweight, rust-proof polymer dust covers that snap in without tools, and rugged mil-spec steel dust covers for builders who want classic metal. Below you’ll find a side-by-side of polymer vs. steel, step-by-step installation guides for each, and the questions builders ask most.
Polymer vs. Steel — Which AR-15 Dust Cover?
| Feature |
Polymer Dust Cover |
Steel Dust Cover |
| Material |
Impact-resistant polymer |
Mil-spec stamped steel |
| Installation |
Snap-in, tool-free |
Rod, spring & C-clip |
| Weight |
Lightweight |
Heavier, classic metal |
| Corrosion |
100% rust-proof |
Can rust/pit over time |
| Custom graphics |
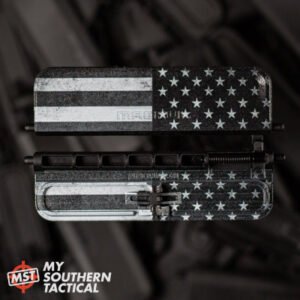
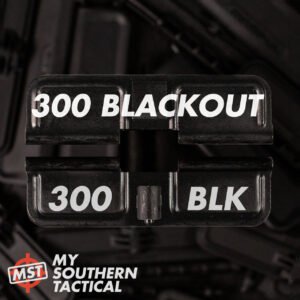
Full-color HD print |
Full-color HD print |
| Best for |
Fast, no-tools upgrade |
Metal purists / classic builds |
Shop Polymer Dust Covers | Shop Steel Dust Covers
How to Install a Polymer AR-15 Dust Cover (Snap-In)
Time: under a minute · Tools: none
- Make the rifle safe. Remove the magazine, lock the bolt to the rear, and both look and physically feel inside the chamber to confirm it’s empty.
- Clear the port. If a cover is installed, open or remove it, and wipe the ejection-port area clean.
- Align the cover. Position the polymer dust cover over the ejection port so its hinge lines up with the port opening.
- Snap it in. Press the cover into place until it seats — the drop-in design installs without removing your barrel nut, handguard, or gas tube.
- Test it. Open and close the cover several times; it should spring, latch cleanly, and stay shut on its own.
How to Install a Steel AR-15 Dust Cover (Rod, Spring & C-Clip)
Time: ~10–15 minutes · Tools: two small flathead screwdrivers, needle-nose pliers, painter’s tape (a small magnet helps)
- Make the rifle safe. Magazine out, bolt locked back, and physically check the chamber. Separate the upper from the lower, then pull the bolt carrier group and charging handle for easy access.
- Protect the receiver. Lay painter’s tape above and below the ejection port so tools and the rod can’t scratch the finish. Work on a clean, flat surface.
- Remove the old cover. Rotate the C-clip so its gap faces away from the receiver, then press it off the rod with two screwdrivers (a magnet on one keeps the tiny clip from vanishing). Slide the rod out the rear — keep light pressure on the cover and control the spring as it releases.
- Start the new cover. Slide the new steel cover onto the front end of the rod, then feed the rod in from the rear until you reach the spring position.
- Set the spring correctly (the key step). Thread the spring onto the rod with the long leg forward (toward the barrel), resting against the dust cover, and the short leg against the upper receiver. Rotate the long leg about a half-turn clockwise (viewed from the front) to preload it against the cover.
- Seat the rod. Keeping tension on the spring and cover, push the rod forward until it seats into the front post below the ejection port.
- Reinstall the C-clip. With needle-nose pliers, press the C-clip back into the rod’s groove; wiggle it until you hear a crisp snap — that means it’s fully seated.
- Function check. Open and close the cover several times — it should snap shut and stay closed. Reassemble the upper, reinstall the BCG and charging handle, and run a full function check.
Troubleshooting: If the cover won’t stay closed, recheck the spring legs — long leg against the cover, short leg against the upper. If it won’t close at all, briefly depress the center detent with a fine screwdriver and work it closed a few times to wear in.
AR-15 Dust Cover FAQ
Do these AR-15 dust covers fit all uppers?
They’re made for standard forged mil-spec AR-15 upper receivers. Billet or non-standard uppers can have clearance differences, so confirm your upper is standard mil-spec.
Are your dust covers printed or engraved?
Printed. We use a high-definition, full-color direct-print process — not engraving — for vibrant, multi-color designs that a single-color etch can’t match.
Do I need tools to install a dust cover?
Polymer covers snap in with no tools. Steel covers use the standard rod, spring, and C-clip — plan on small screwdrivers and needle-nose pliers.
Polymer or steel — which should I choose?
Choose polymer for a fast, tool-free, rust-proof, lightweight upgrade; choose steel if you want classic mil-spec metal. Both take the same full-color custom printing.











 + Quick add
This product has multiple variants. The options may be chosen on the product page
 + Quick add
This product has multiple variants. The options may be chosen on the product page
 + Quick add
This product has multiple variants. The options may be chosen on the product page
 + Quick add
This product has multiple variants. The options may be chosen on the product page
 + Quick add
This product has multiple variants. The options may be chosen on the product page
 + Quick add
This product has multiple variants. The options may be chosen on the product page
 + Quick add
This product has multiple variants. The options may be chosen on the product page
 + Quick add
This product has multiple variants. The options may be chosen on the product page
 + Quick add
This product has multiple variants. The options may be chosen on the product page
 + Quick add
This product has multiple variants. The options may be chosen on the product page
 + Quick add
This product has multiple variants. The options may be chosen on the product page
 + Quick add
This product has multiple variants. The options may be chosen on the product page
 + Quick add
This product has multiple variants. The options may be chosen on the product page
 + Quick add
This product has multiple variants. The options may be chosen on the product page
 + Quick add
This product has multiple variants. The options may be chosen on the product page
 + Quick add
This product has multiple variants. The options may be chosen on the product page
 + Quick add
This product has multiple variants. The options may be chosen on the product page
 + Quick add
This product has multiple variants. The options may be chosen on the product page
 + Quick add
This product has multiple variants. The options may be chosen on the product page
 + Quick add
This product has multiple variants. The options may be chosen on the product page
 + Quick add
This product has multiple variants. The options may be chosen on the product page
 + Quick add
This product has multiple variants. The options may be chosen on the product page
 + Quick add
This product has multiple variants. The options may be chosen on the product page
 + Quick add
This product has multiple variants. The options may be chosen on the product page